mailto:
[email protected]
Toggle navigation
HOME
OUR SERVICES
online pharmacy uk orlistat
buy fluconazole online australia
Web Design
tamsulosina se usa en mujeres
buy acyclovir 400 mg online
buy viagra online pharmacy
where to buy xalatan eye drops
promethazine back order
buy cytotec online in usa
amoxycillin & potassium clavulanate brands
cheap alternative to lisinopril
is voltarol available over the counter in uk
where to buy levitra in london
zaditen xarope generico
Search for:
Search Button
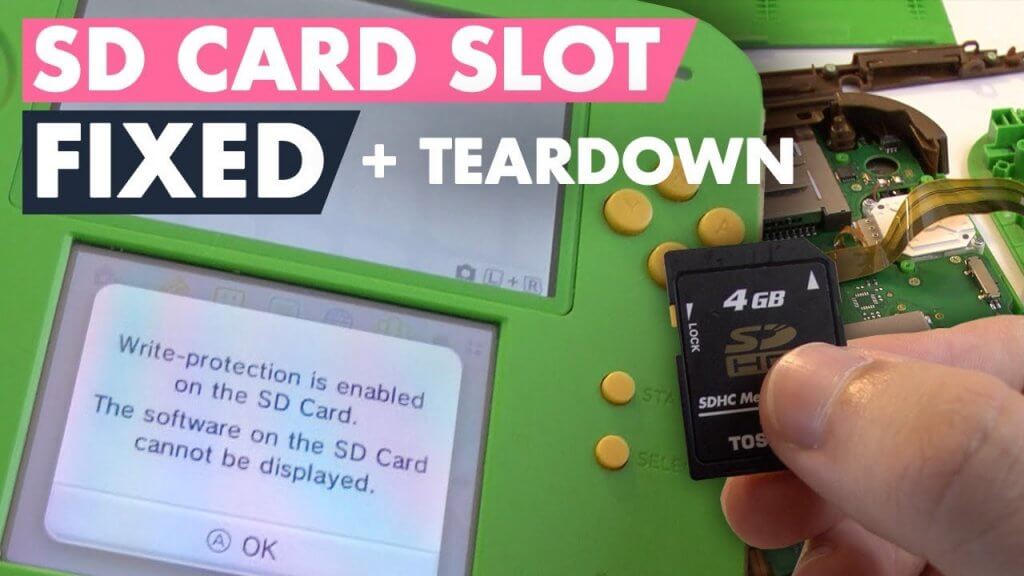
6 Ways to Remove SD Card Write Protected
May 24, 2019
Bobby C. Box
Errors and Fixes
0 Comments
Bobby C. Box
Call Now Button